Setting up your Queue allows you to schedule these updates.
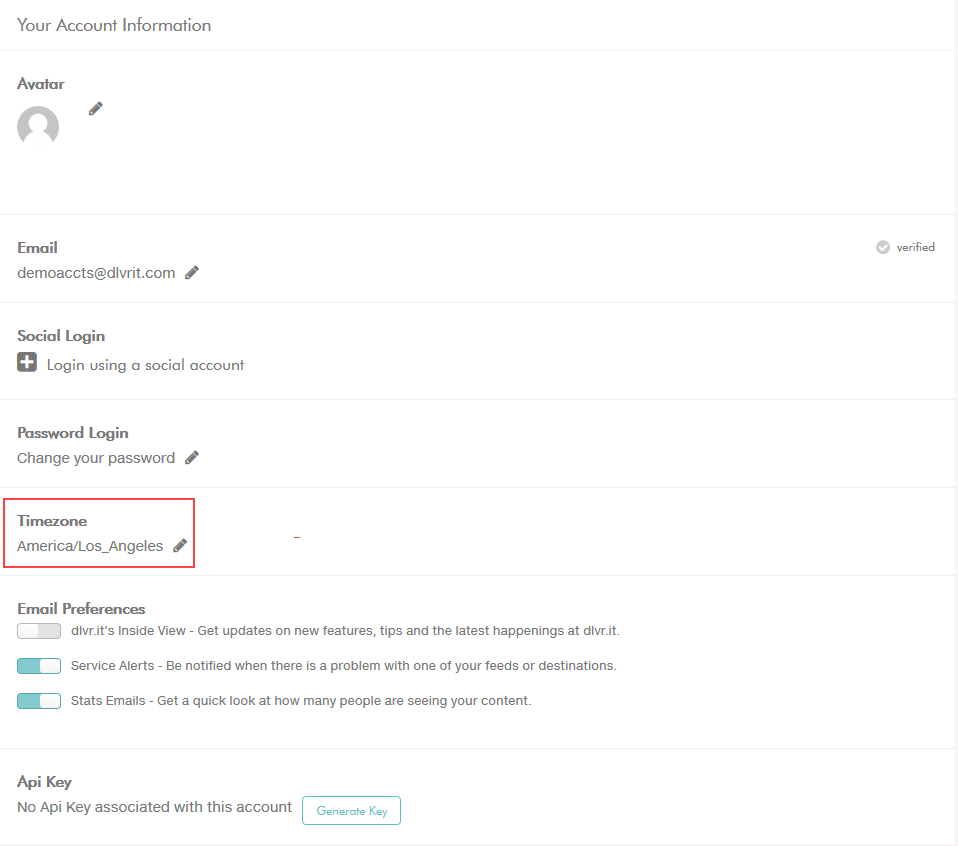
Before you set up your Queue, make sure to set your timezone!
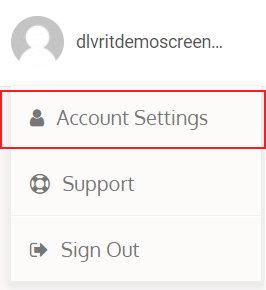
1) Click on your email address in the upper right corner of the page and click on Account Settings
2) Click on the Pencil icon next to the timezone set, click on the correct timezone, and Save
The first step to getting your Content on a Schedule is to set your Feed to automatically post to your Queue
1) Click on your Automate tab
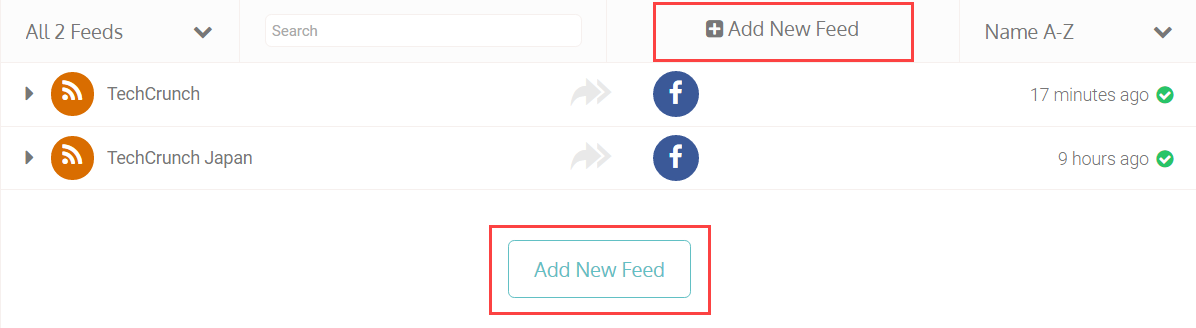
2) Click on Add New Feed
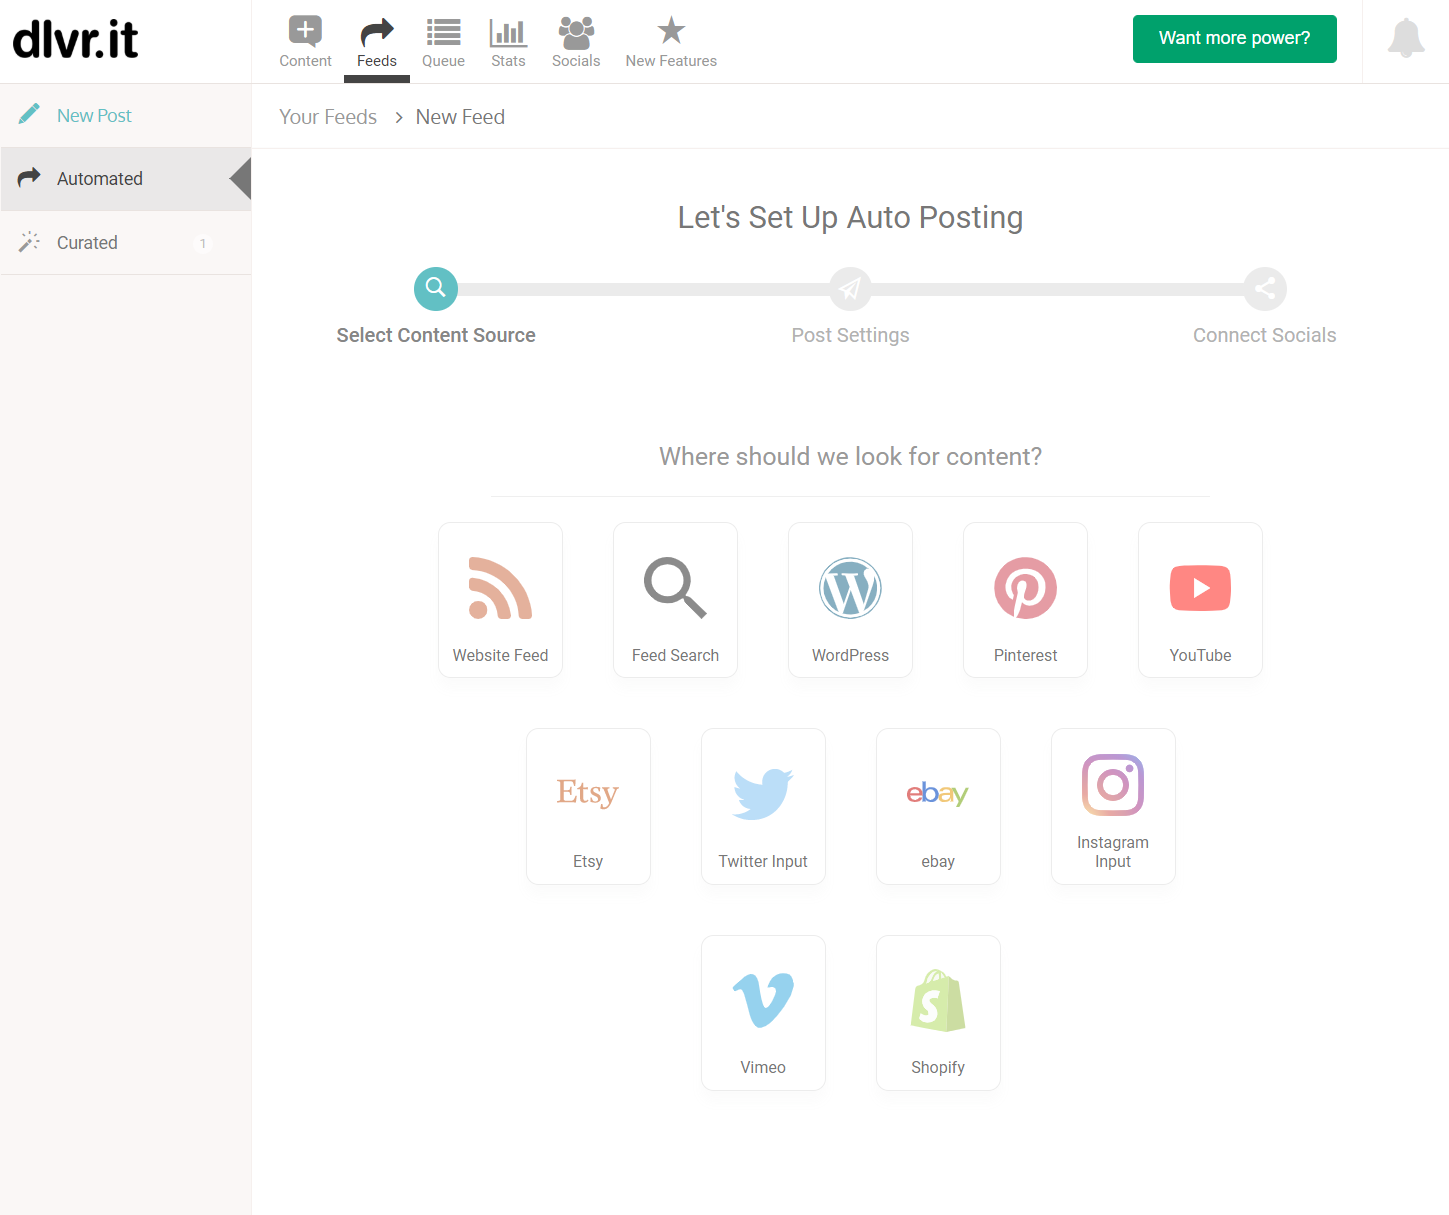
3) Select a content source and follow the prompts to locate your feed
4) On the Post Settings screen, click on Post to Queue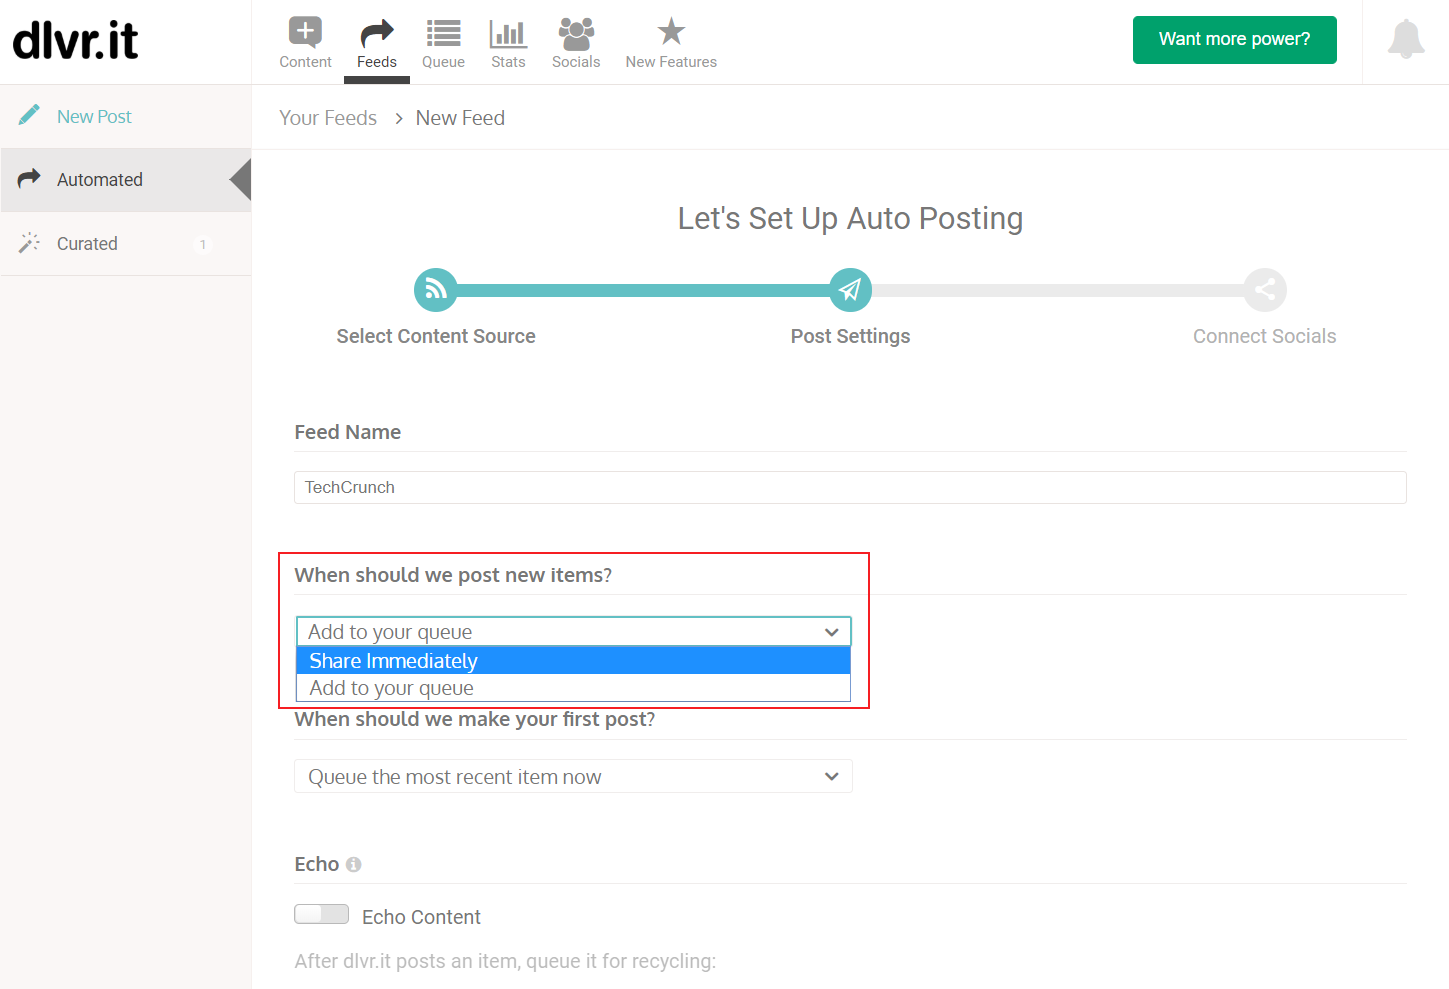
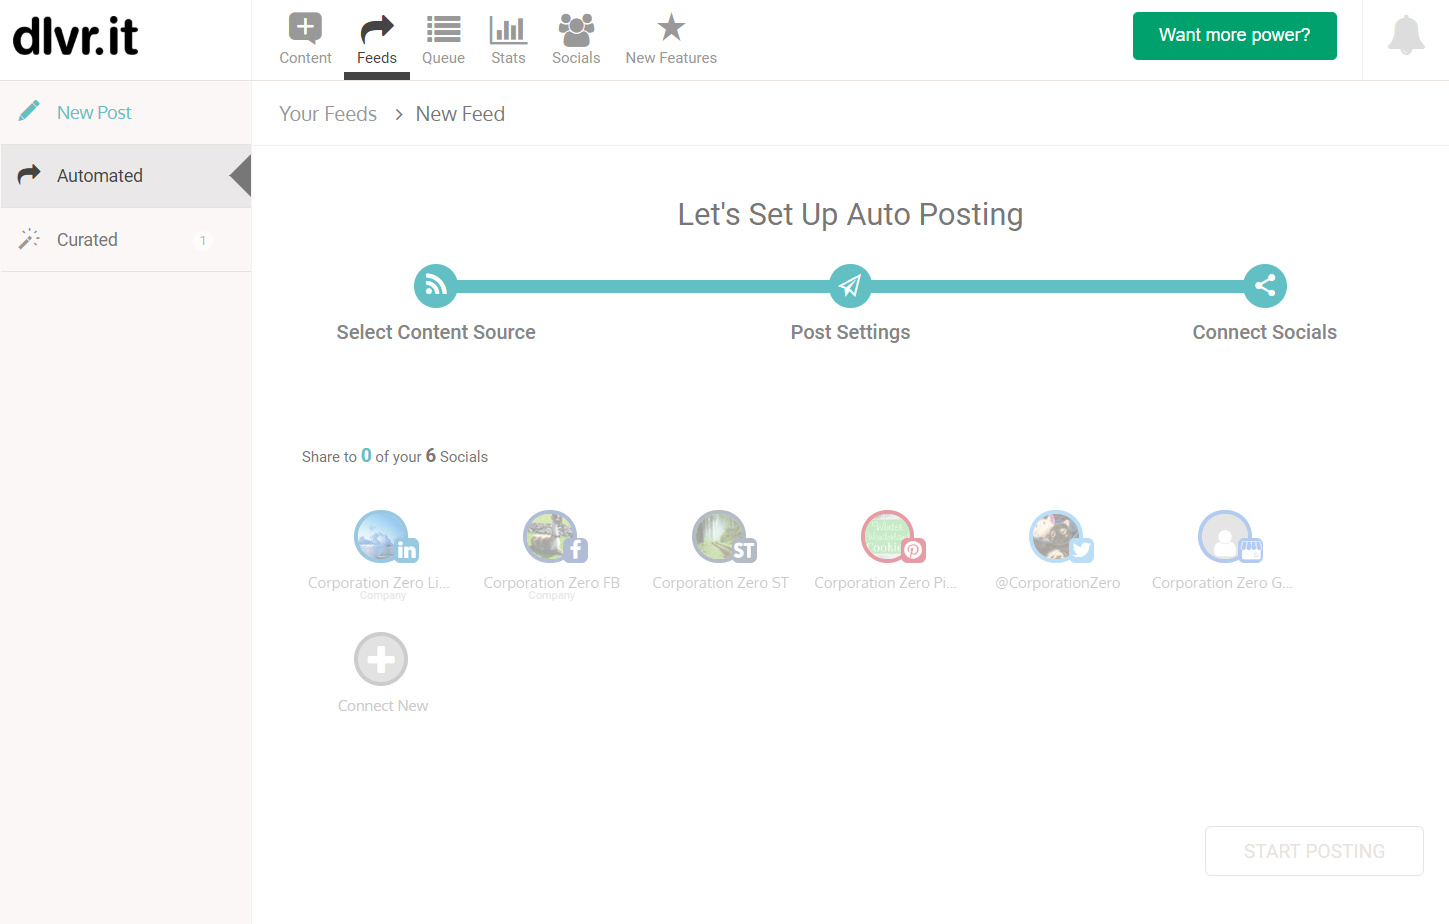
5) Connect your Socials and click on Start Posting
This will send all of your Posts to a Queue to be posted on a Schedule
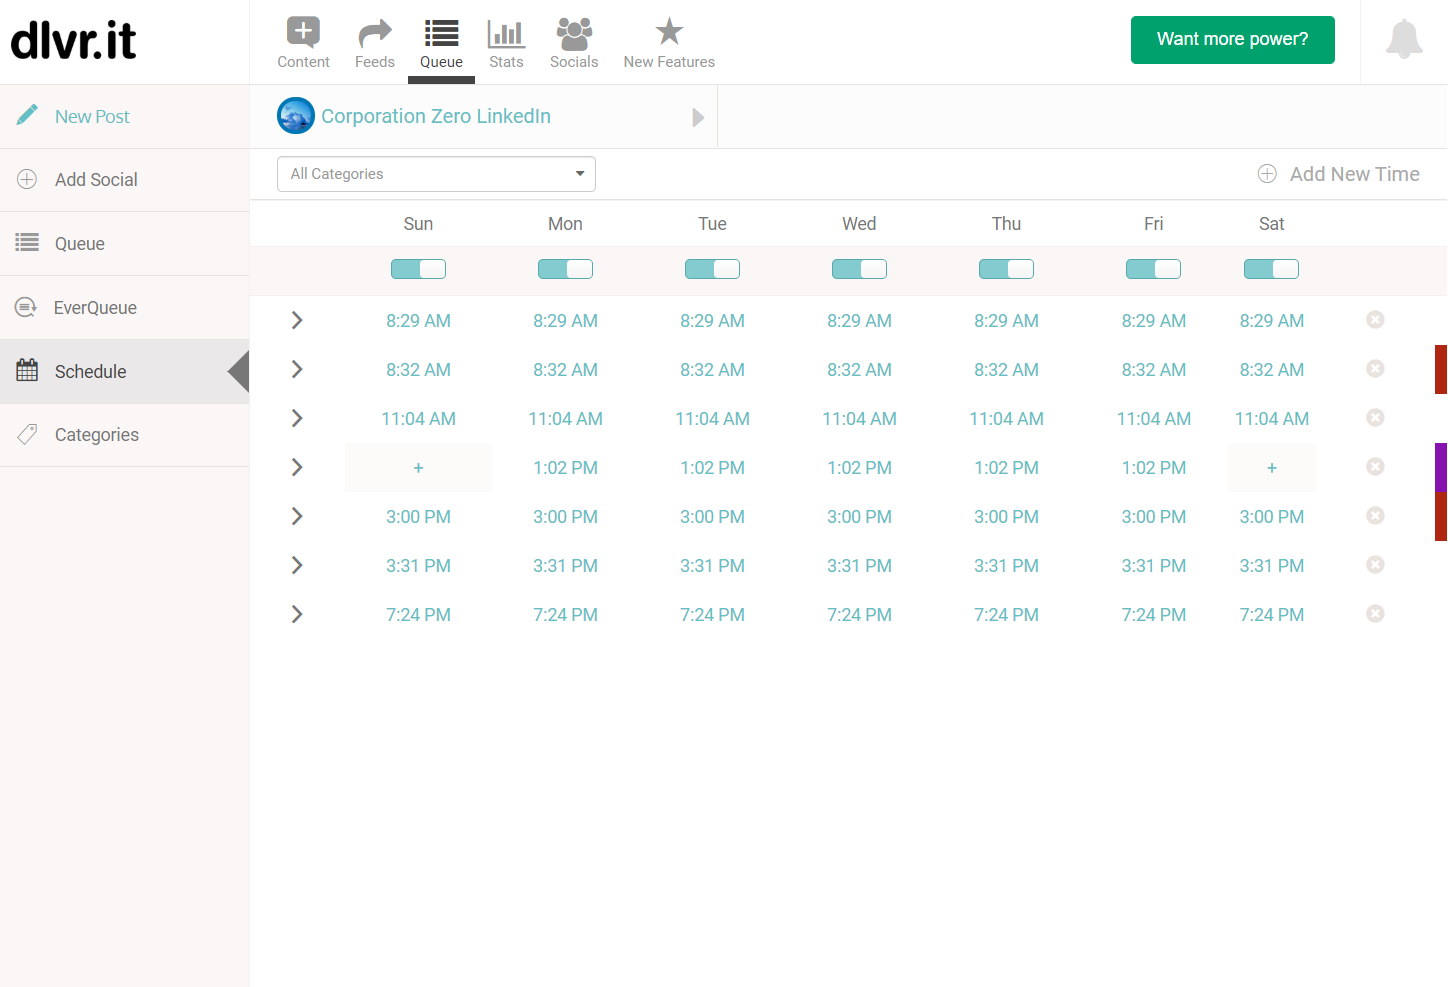
To alter your Schedule:
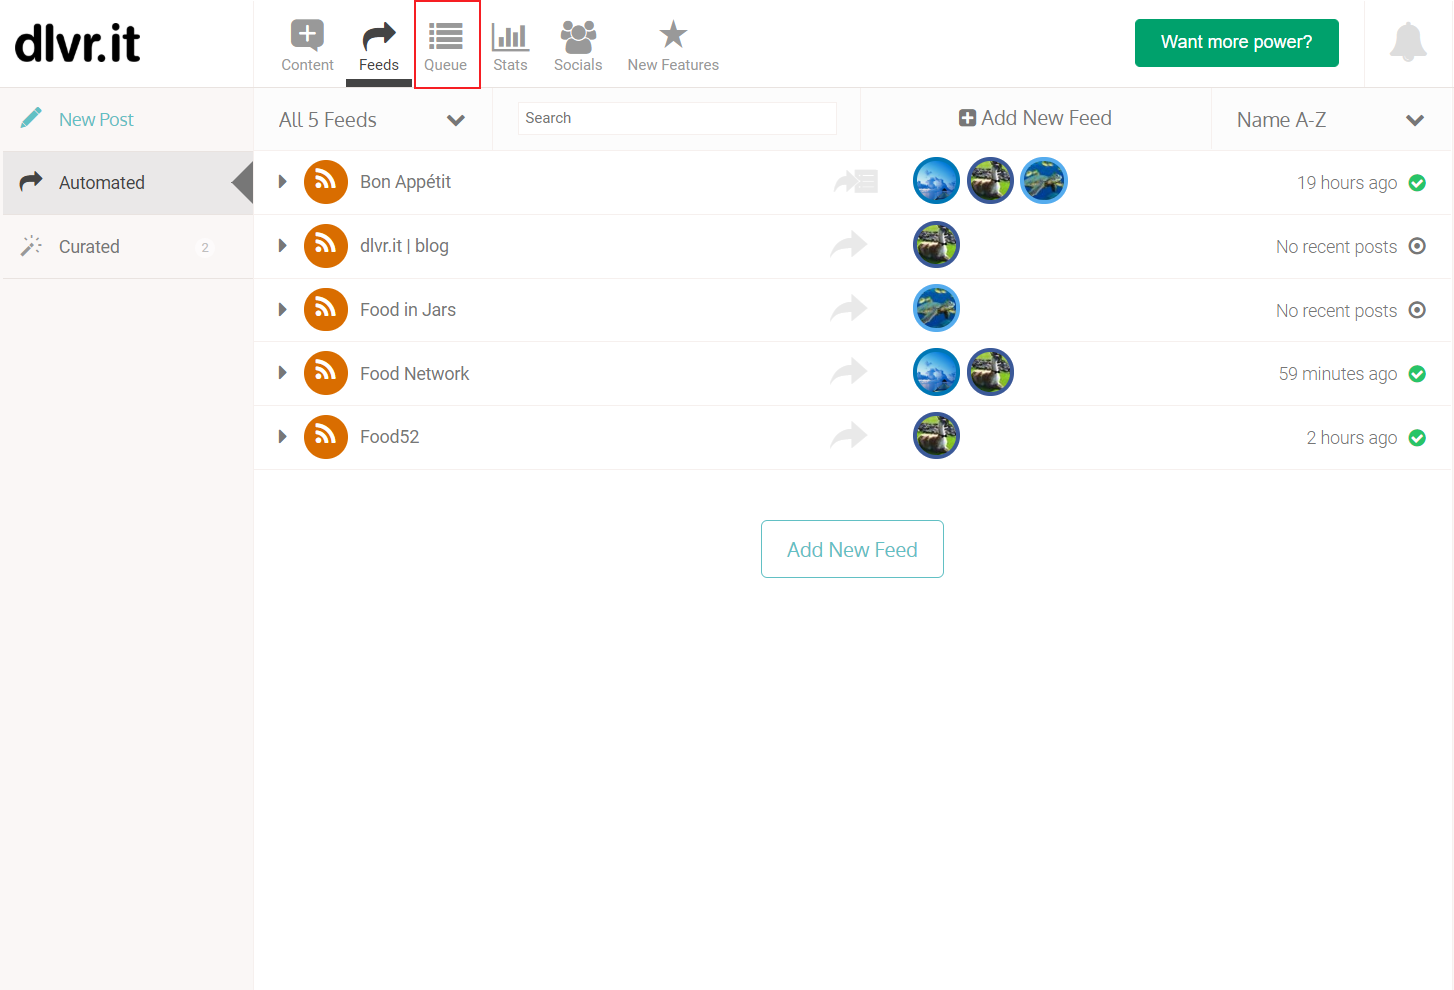
1) Click on Queue
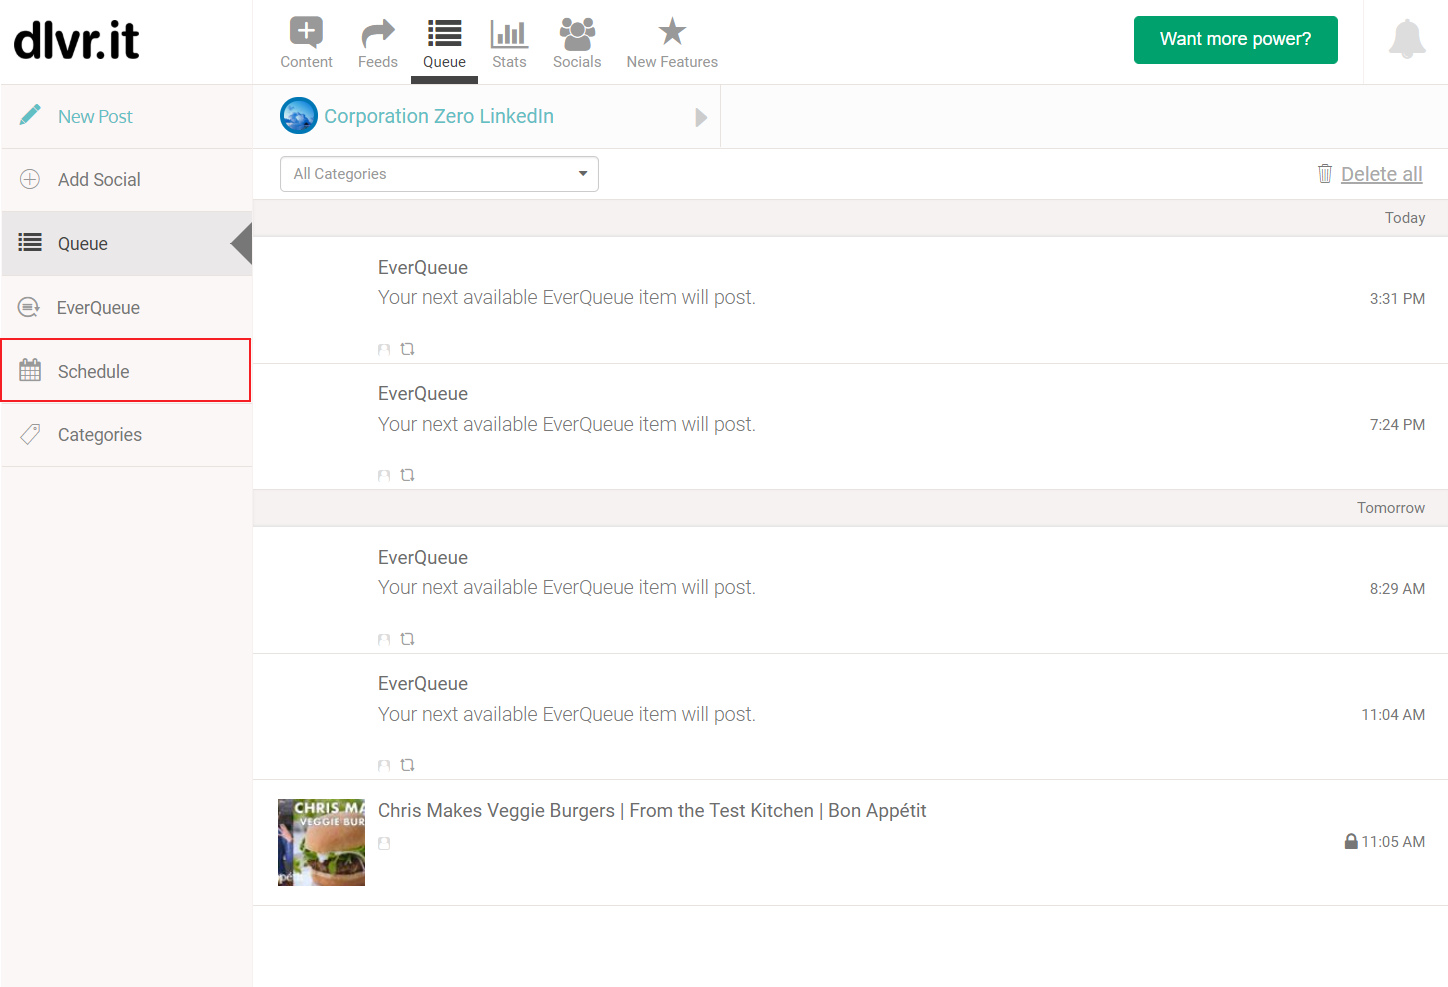
2) Click on the Social that you wish to alter the Schedule for

3) Click on the Schedule tab
4) You may add time slots, delete time slots, or edit time slots in this screen
Note: If you change a new timezone AFTER setting your schedules, your next feed retrieval will occur at the scheduled day/time in your previous timezone. After this, your feed will update on the days/times in your updates time zone.